

Topic Last Modified: 2011-03-16
After you have configured the Lync Server 2010 Sync tool, create a management agent for the Lync Server Sync tool in the central forest.
 To create a management
agent
To create a management
agent
-
On the computer running Identity life cycle manager server, start Identity Manager: Click Start, click All Programs, click Microsoft Identity Integration Server, and then click Identity Manager.
 Note:
Note:To open Synchronization service in Forefront Identity Manager 2010: Click Start, click All Programs, click Forefront Identity Manager, and then click Synchronization service. -
Click Management Agents.
-
On the Actions menu, click Import Management Agent.
-
Select %drive letter%:\Program Files\Microsoft Identity Integration Server\Extensions\Lcscentralforestma.xml, and then click Open. The Create Management Agent dialog box appears.
Note:For Forefront Identity Manager 2010, the path is %Program Files%\Microsoft Forefront Identity Manager\2010\Synchronization Service\Extensions\ Lcscentralforestma.xml 
-
In the Name box, type a name for the management agent. This name must be identical to the name that is specified in the <lcsma name => tag in Lcscfg.xml.
-
Click Next.
-
Enter the user name and password of a member of the Domain Admins group on Lync Server in the central forest.
-
Click Next.
-
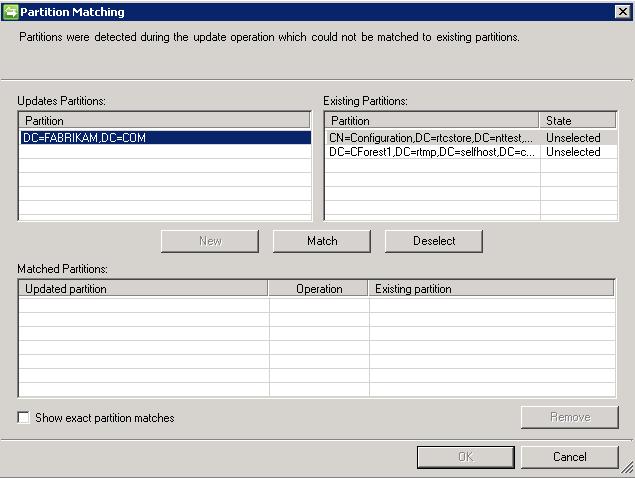
In Partition Matching, under Updates Partitions, select the partition that needs to be updated, and in Existing Partitions, select the partition that contains the distinguished name (DN) of your central forest.
-
Click Match.
-
In Existing Partitions, select each unmatched partition, click Deselect, and then click OK.
-
In Select directory partitions, clear the check boxes for all domains except for the domain that has the target organizational unit (OU) that you specified in Lcscfg.xml when you deployed the Lync Server Sync tool.
-
Click Containers.
-
In Select Containers, select the OU container where contacts will be stored, and then click OK.
-
Click Next.
Note:For Forefront Identity Manager 2010, on the Configure Provisioning Hierarchy page, accept the default values, and then click Next. -
On the Select Objects page, accept the default values, and then click Next.
-
On the Select Attributes page, accept the default values, and then click Next.
-
On the Configure Connector Filter page, accept the default values, and then click Next.
-
On the Configure Join and Projection Rules page, accept the default values, and then click Next.
-
On the Configure Attribute Flow page, accept the default values, and then click Next.
-
On the Configure Deprovisioning page, accept the default values, and then click Next.
-
On the Configure Extensions page, verify that Lcssync.dll is selected, and then click Finish.