Topic Last Modified: 2010-11-03
Running Topology Builder to define a new topology or to modify an existing topology does not require membership in a local administrator or privileged domain group. Topology Builder guides you through the steps necessary to define your topology for an Enterprise Edition Front End pool or a Standard Edition Front End Server, based on your configuration requirements.
You must use Topology Builder to complete and publish the topology before you can install Microsoft Lync Server 2010 on servers. The following procedure includes the steps required to define a new topology.
 To define a topology
-
Start Topology Builder: Click Start, click All Programs, click Microsoft Lync Server 2010, and then click Lync Server Topology Builder.
-
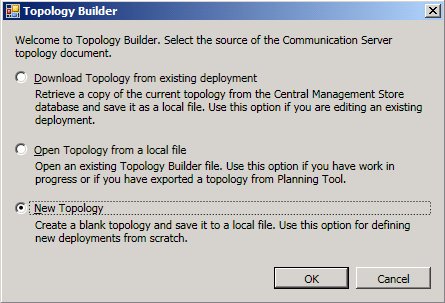
In Topology Builder, select New Topology. You are prompted for a location and file name for saving the topology. Give the topology file a meaningful name and accept the default extension of .tbxml. Click OK.

-
Navigate to the location where you want to save the new topology XML file, enter a name for the file, and then click Save.
-
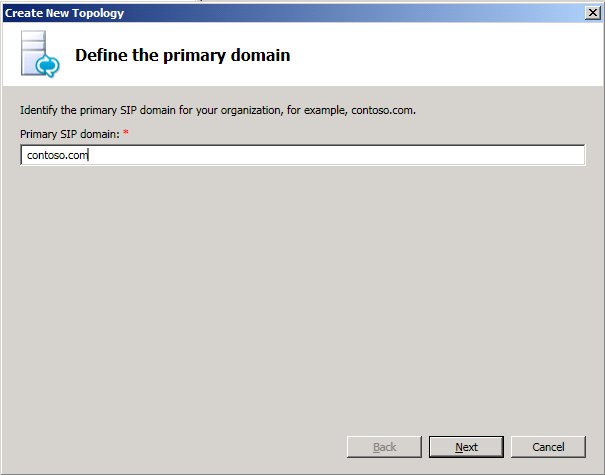
On the Define the primary domain page, enter the name of the primary SIP domain for your organization, and then click Next.

-
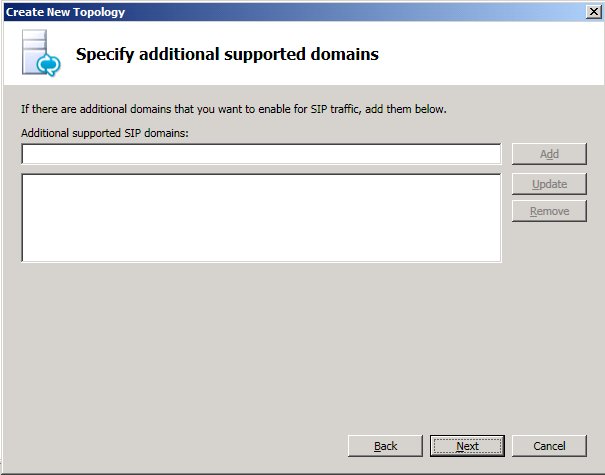
On the Specify additional supported domains page, enter the names of additional domains, if any, and then click Next.

-
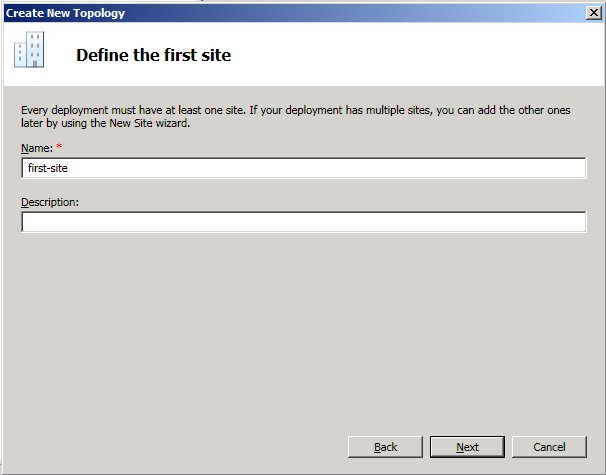
On the Define the first site page, enter a name and a description for the first site, and then click Next.

-
On the Specify site details page, enter the location information for the site, and then click Next.
-
On the New topology was successfully defined page, ensure the Open the New Front End Wizard when this wizard closes check box is selected, and then click Finish.
After you’ve defined and saved the topology, use the New Front End Wizard to define a Front End pool or Standard Edition server for your site. For details, see Define and Configure a Front End Pool for Enterprise Edition, or see Define and Configure a Standard Edition Server for a Standard Edition server.

