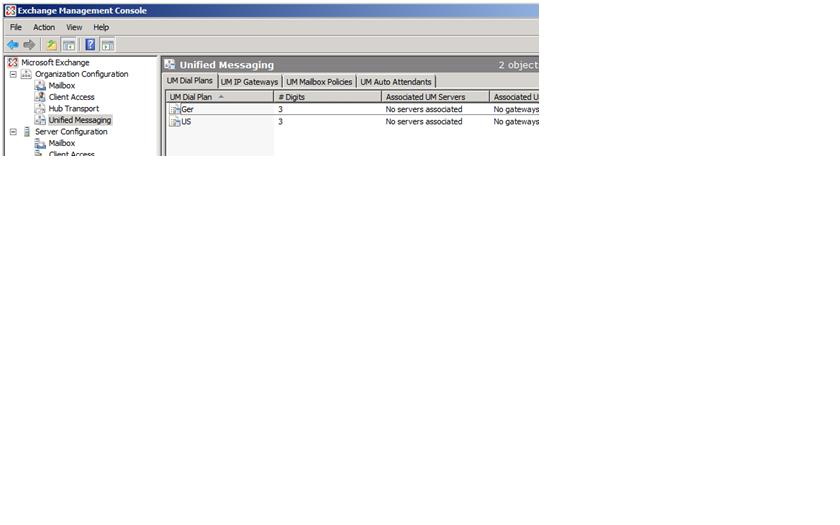
The FQDNs of the dial plans that are created in Exchange must match the FQDNs of the location profiles that are created in Office Communications Server. It does not matter whether you create the location profiles or the dial plans first, but the names must match. As noted earlier in this walkthrough, Litware has two location profiles, us.litware.com at its US site and ger.litware.com at its site in Germany, and so it must create dial plans in Exchange with FQDNs of us.litware.com and ger.litware.com.
If you are using a separate server for the Unified Messaging role, you must ensure that the PKI certificate comes from the same trusted root as the certificate that is on the Office Communications Server front end/pool and other Exchange Servers, specifically including the Client Access Server role. Certificate configuration is beyond the scope of this walkthrough; however, the subject is covered in good detail in both the Office Communications Server 2007 R2 and Exchange Server 2007 SP1 documentation.
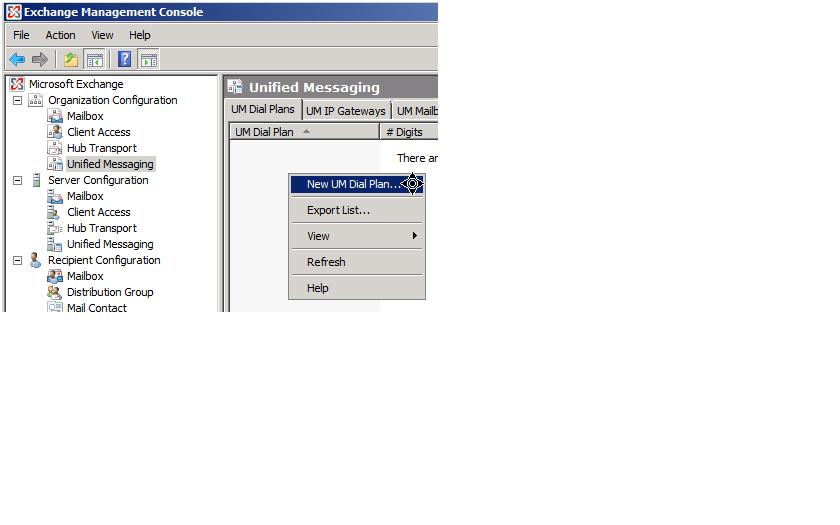
You create Exchange UM dial plans by using the Exchange Management Console. In the console tree, click Unified Messaging. In the action pane, click New UM Dial Plan. When you complete the wizard, the dial plan will be listed in the details pane of the console on the UM Dial Planstab.
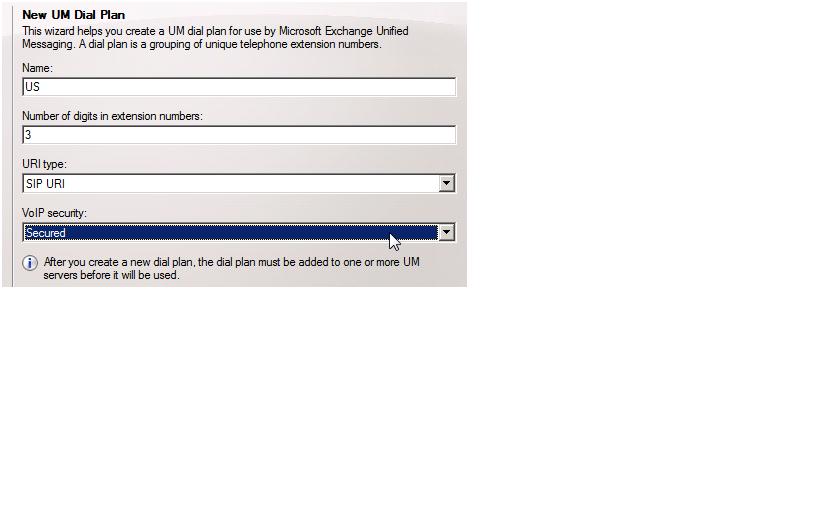
For the US site, Litware configured the dial plan as follows:
- Name: US
- Number of digits in extension numbers: 3
- URI type: SIP URI
- VoIP Security: Secured
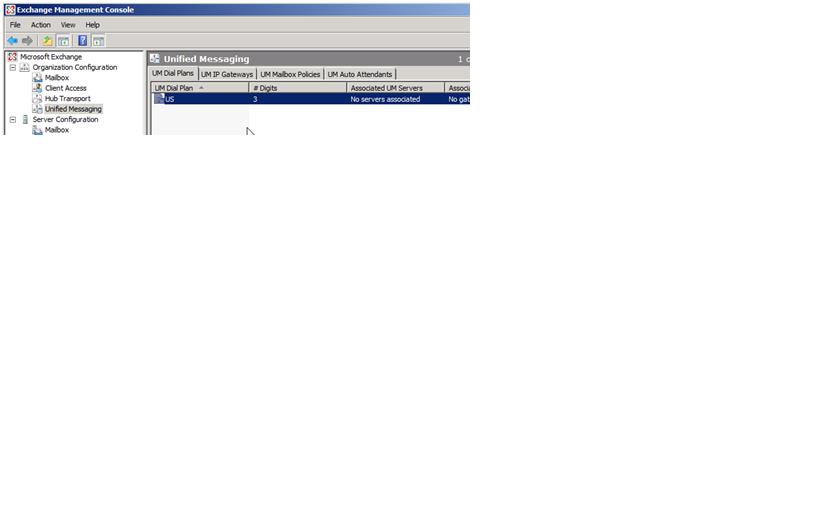
Accept the defaults until you have finished the wizard. The dial plan appears in the details pane of the Exchange Management Console.
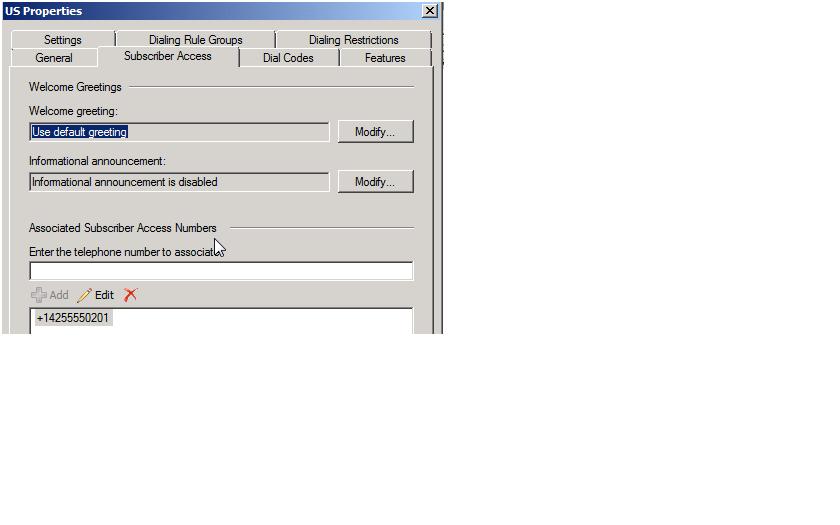
To configure the dial plan, click the name of the dial plan. In the action pane, click Properties. Enter the configuration information that you want, and then click OK. Litware configured its US dial plan as follows:
Subscriber Access Number: +14255550201
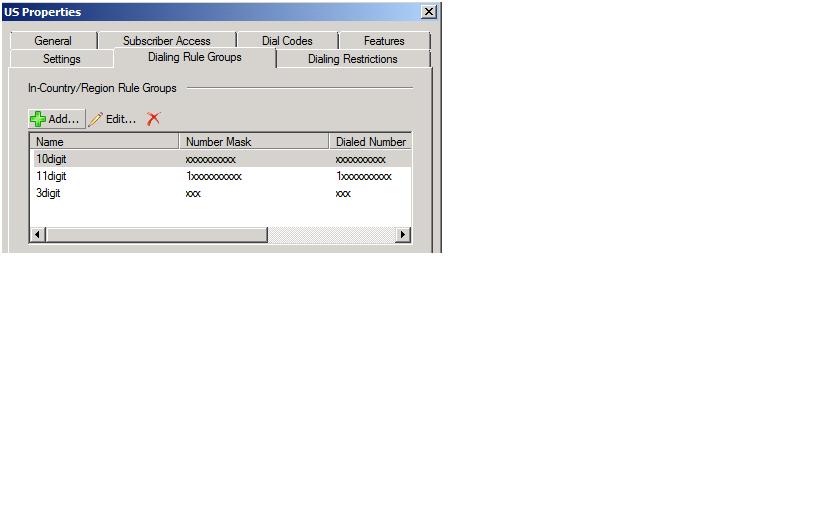
Dialing Rule Groups: 3digit(for extensions), 10digit(for local phone numbers), 11digit(for national long distance numbers)
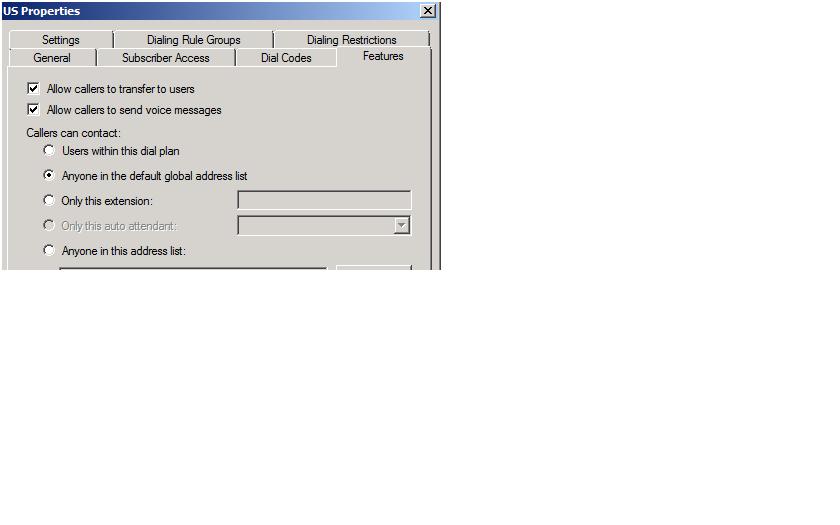
Features: Select the Allow callers to transfer to usersand Allow callers to send voice messagescheck boxes. Under Callers can contact, click Anyone in the default global address list.
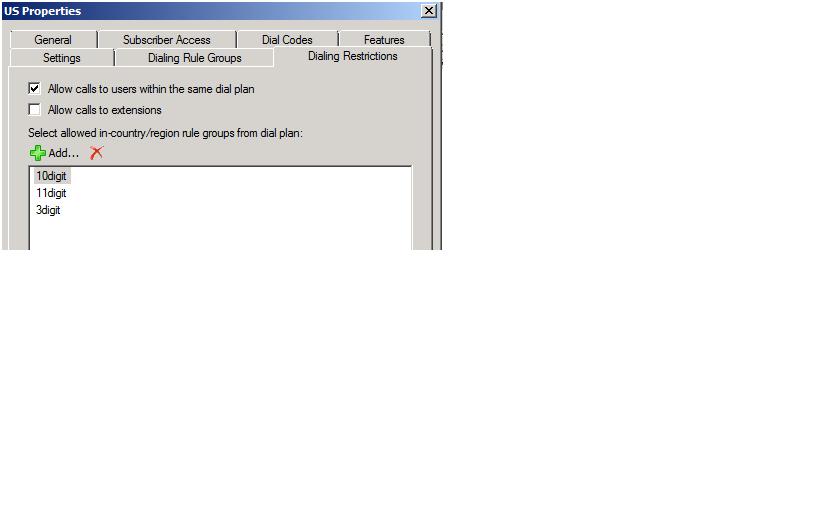
Dialing Restrictions: Select the Allow calls to users within the same dial plancheck box. Add the dialing rule groups to the restriction list. Litware allows any outbound calls that are not international.
Litware used the same procedure to create the dial plan for Germany as follows:
- Name: Ger
- Number of digits in extension numbers: 3
- URI type: SIP URI
- VoIP Security: Secured
Litware configured the dial plan as follows:
- Subscriber Access Number: +49221080111
- Dialing Rule Groups: 3digit (for extensions), 10digit (for
local phone numbers), 11 digit (for national long distance numbers)
- Features: Select the
Allow callers to transfer to usersand Allow callers to send
voice messages check boxes. Under Callers can contact, click
Anyone in the default global address list.
- Dialing Restrictions: Select the
Allow calls to extensionscheck box. Add the dialing rule
groups to the restriction list. Litware allows any outbound calls
that are not international.