Topic Last Modified: 2010-07-19
After you have defined your topology, use the following procedure to define a Front End pool for your site. For details about defining the topology, see Define and Configure a Topology in Topology Builder.
 To define a Front End pool
-
In the Define New Front End Pool wizard, on the Define the New Front End pool page, click Next.
-
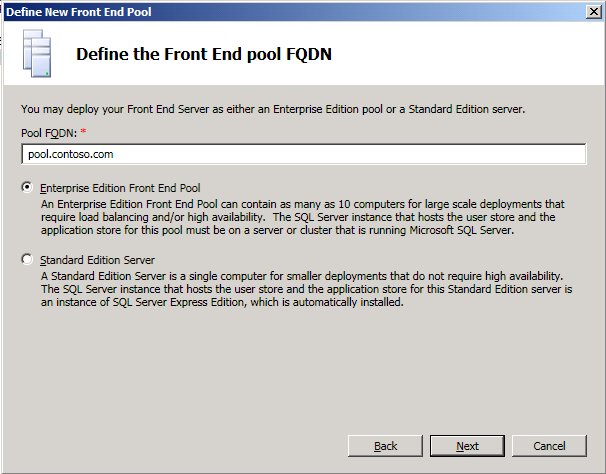
On the Define the Front End pool FQDN page, specify a fully qualified domain name (FQDN) for the pool you are creating, and then click Enterprise Edition Front End Pool.
-
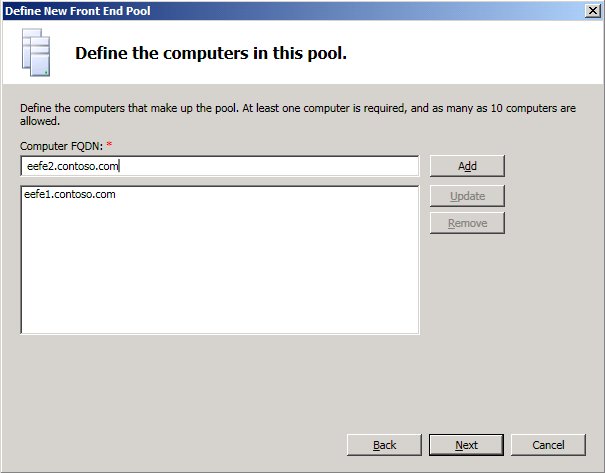
On the Define the computers in this pool page, enter a computer FQDN for the first Front End Server in the pool, and then click Add. Repeat this step for any additional computers (up to ten) that you want to add to the pool, and then click Next.
-
On the Select features page, ensure that the Bandwidth management feature is selected.
-
On the Select collocated server roles page, to collocate these server roles on the Front End Server instead of deploying standalone servers for either or both of these server roles, ensure that the Collocate A/V Conferencing service and Collocate Mediation Server check boxes are selected.

-
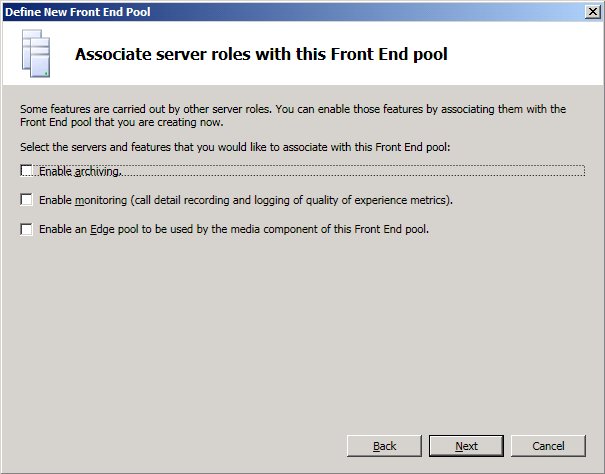
On the Associate server roles with this Front End pool page, select the check boxes for the servers and features that you would like to associate with the Front End pool.
-
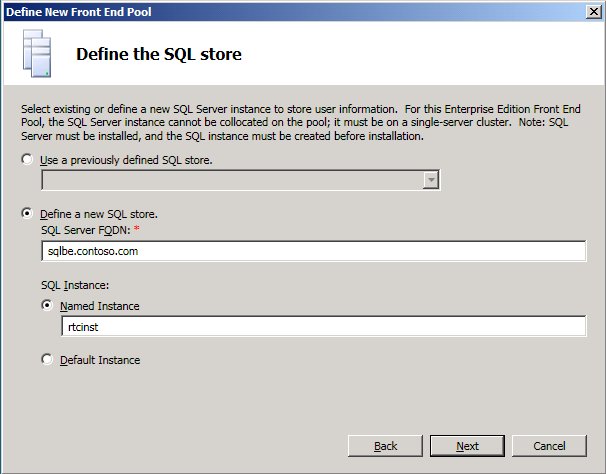
On the Define the SQL store page, click Define a new SQL store to define a new SQL Server instance to store user information, and then specify the SQL Server FQDN, click Named Instance, and then specify the instance name of the SQL Server instance you created previously for this purpose.
-
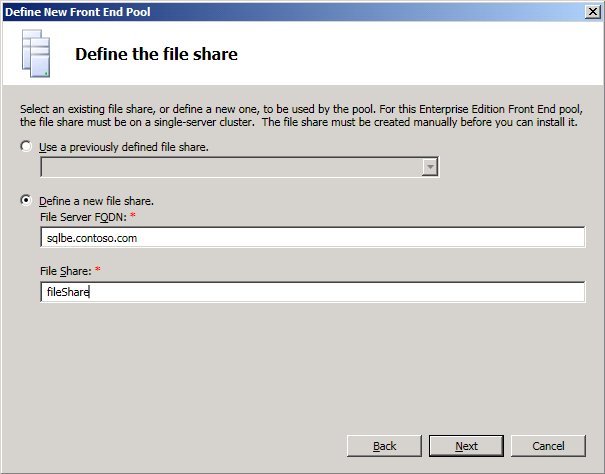
On the Define the file share page, click Define a new file share, specify the file server FQDN in File Server FQDN, and then specify the file share name in File Share.
-
On the Specify the Web Services URL page, if you are configuring DNS load balancing, select the Override internal Web Services pool FQDN check box, specify the internal base URL (which must be different than the pool FQDN) in Internal Base URL, and then specify the external base URL in External Base URL.
 Note:
Note:To use DNS load balancing, you must create the appropriate DNS records. For details, see Configure DNS for Load Balancing. 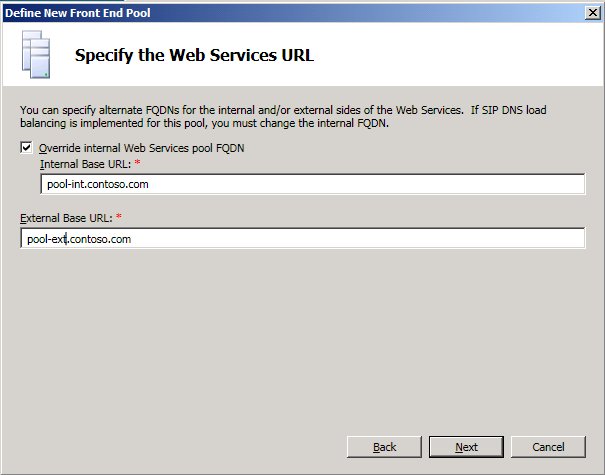
-
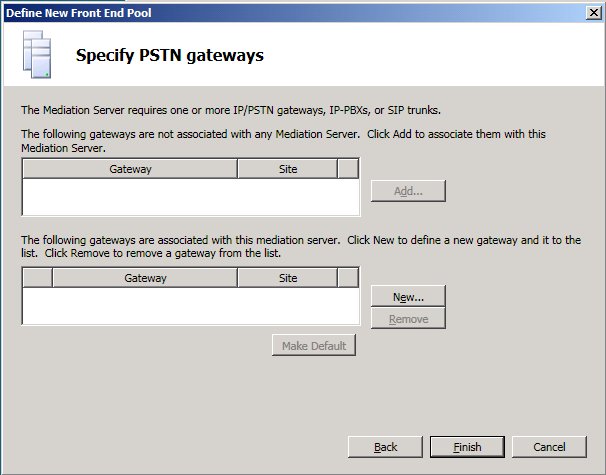
On the Specify PSTN gateways page, click Finish.
